
Here’s how I migrated my WordPress website to Hostinger step by step, sharing my experience and tips along the way. Migrating a website can seem daunting, but with the right steps, it becomes a smooth process. And remember, if a pink cat with glasses can do it, you can do it too!
After the migration to Hostinger, I encountered a few issues though, I have to say, which I have covered in separate posts, regarding design issues after the migration and DNS issues, as well control panel and phpMyAdmin tables issues.
Step 1: Purchase Premium Web Hosting from Hostinger
To start, I purchased the Premium Web Hosting plan from Hostinger. This plan offers excellent features, including more storage, better performance, and 24/7 support.
If you are still unsure about this Hosting provider, read my Hostinger review.
My migration requirements included maintaining functionality on all pages, retaining AdSense and Ezoic as monetisation methods, and keeping various plugins, including a quiz plugin. I also needed to test the shop, forum, comparison, email, and other new features. While the shop feature was only available on an upgraded plan, everything else worked fine.
When you are comparing WordPress Content Creator Plan versus Premium Web Hosting by Hostinger there are certain functionalities that you will lose:
Features I would keep on Hostinger:
– Basic WooCommerce optimization (up to 100 products)
– Plugins: such as Ezoic, translation plugins and others
Features I would lose on Hostinger:
– WordPress Staging Tool
– Object Cache for WordPress
– On-Demand Backup: (Only one backup a week with the Premium Web Hosting plan of Hostinger)
Step 2: Plan the Migration
Even if you just have a small website it is important to always plan the process to avoid surprises. This was my migration plan:
1. Assess Hosting Space: Hostinger had 97 GB available, enough for my needs.
2. Choose Migration Method: I chose credential sharing over file export initially.
3. Backup Migration Method 1: Using WPvivid, Duplicator, or All-in-One WP Migration.
4. Backup Migration Method 2: Using File Manager or an FTP client.
5. Review and Adjust Settings: Check permalink structures, widgets, design and themes.
6. Ensure Compatibility: Same PHP version and functional site.
Timelines:
These were the timelines that I planned out for my migration. They worked for my project, but obviously you should adapt to yours.
– 4 May: Start migration
– 18 May: Fix design and language functionality issues
– 20 May: Finish migration and QA
– 21 May: Point domain to Hostinger
One month buffer for potential issues, as my plan in WordPress would renew on 25 June.
Step 3: Migration from WordPress to Hostinger
How to migrate by providing WordPress credentials
I began the migration by providing Hostinger with my WordPress credentials, as this is the easiest way to install a WordPress website.
However, their migration team faced difficulties downloading a backup due to server connection issues. To resolve this, I opted to use backup files instead of providing direct access. This is what I called before “Backup Migration Method 1”.

How to upload a WordPress website to Hostinger
To fix this issue, I used backup files instead in order to upload the website to Hostinger. First, I deleted any duplicate websites from Hostinger’s list to avoid confusion. T
hen, I logged into my WordPress dashboard and used the All-in-One WP Migration plugin to export the site, resulting in a .wpress file.
I converted this file to a .zip file using an archive utility, which also generated a .cpgz file. I uploaded both files to a Google Drive folder and made them accessible via a shared link. I then submitted a new migration request through Hostinger’s control panel, including the Google Drive link.
1. Delete Duplicate Website: Remove any duplicates from Hostinger’s website list.
2. Download Backup: Install and use All-in-One WP Migration to export the site.
3. Convert Backup: Convert the .wpress file to a .zip file.
4. Upload Backup: Upload the .zip and .cpgz files to Google Drive.
5. Submit Migration Request: Provide Hostinger with the Google Drive link.
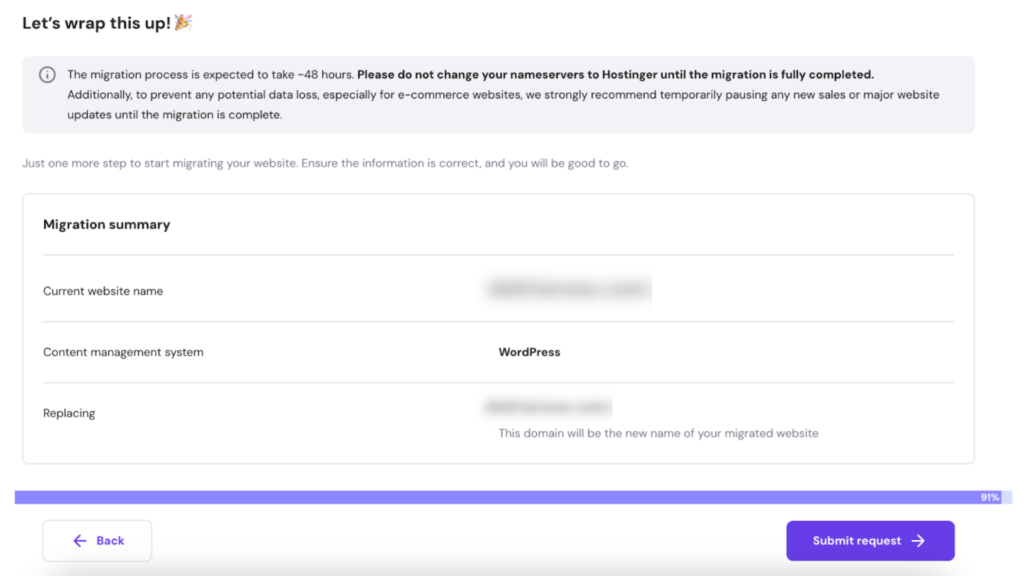

The migration was completed in a day, although Hostinger mentioned it could take up to 3-4 days. They recommended connecting the domain only after the website was fully migrated.
Step 4: Connect the Domain
After the migration, you have two options: transfer the domain or point the name servers to Hostinger.
Option 1: Transfer the Domain to Hostinger
– Connect the nameservers to Hostinger
– Keep the domain with your current registrar
Option 2: Point Nameservers to Hostinger
– Keep your domain at WordPress
– Point the nameservers to Hostinger
I chose to keep the domain at WordPress and point the nameservers to Hostinger. Here’s how:
Go to your current domain registrar’s dashboard and change the nameservers to Hostinger’s nameservers. You simply need to copy the Hostinger´s nameservers and replace the existing ones in WordPress. That was quite straightforward and Hostinger explains how to do it here, so I will not delve too much into that.
Post-migration issues with Hostinger
After the migration, I encountered a few issues, which I will cover in separate posts:
– Design issues after the migration to Hostinger
– Admin Panel issues
– phpMyAdmin tables issues
Stay tuned for detailed solutions on these issues. Until next time, my dear human friends!
Missing me already, dear human? You can find me on X and Facebook.
Moxie